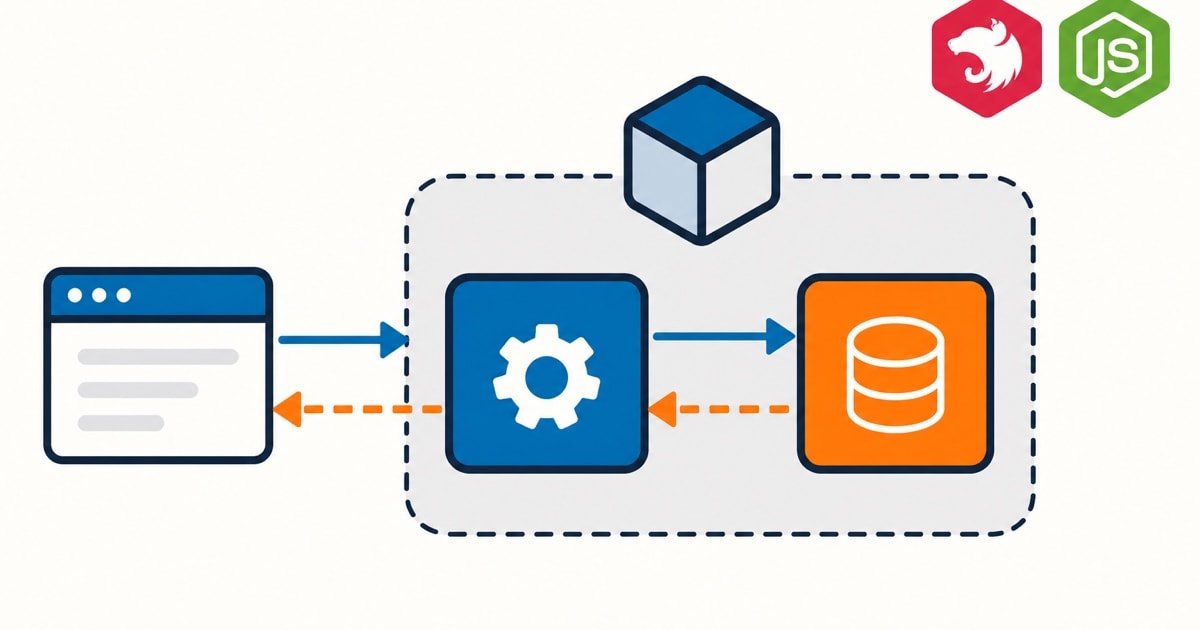
NestJS 是 Node.js 生态里最”像 Spring”的框架:装饰器、依赖注入、模块化,开箱即用。它的核心就三件套——Controller(接请求)、Provider(写逻辑)、Module(组装)——理解了这三个,Nest 就入门了。
Controller:只负责接请求
Controller 是 HTTP 的入口,只做三件事:收参数、调服务、返结果。不要在 Controller 里写业务逻辑:
// users.controller.ts
import { Controller, Get, Post, Body, Param } from '@nestjs/common';
import { UsersService } from './users.service';
import { CreateUserDto } from './dto/create-user.dto';

@Controller('users') // 路由前缀 /users
export class UsersController {
  // 依赖通过构造函数注入,Nest 自动 new 好传进来
  constructor(private readonly usersService: UsersService) {}

  @Get() // GET /users
  findAll() {
    return this.usersService.findAll();
  }

  @Get(':id') // GET /users/123
  findOne(@Param('id') id: string) {
    return this.usersService.findOne(id);
  }

  @Post() // POST /users
  create(@Body() dto: CreateUserDto) {
    return this.usersService.create(dto);
  }
}装饰器即路由:@Get(':id') + @Param('id') 取路径参数,@Body() 取请求体,@Query() 取查询参数。返回值直接被序列化成 JSON,不用手动 res.json()。
Provider:真正的业务逻辑在这里
Service 是最常见的 Provider,本质就是一个被 @Injectable() 标记的类:
// users.service.ts
import { Injectable, NotFoundException } from '@nestjs/common';
import { CreateUserDto } from './dto/create-user.dto';

interface User {
  id: string;
  name: string;
  email: string;
}

@Injectable()
export class UsersService {
  private users: User[] = [];

  findAll(): User[] {
    return this.users;
  }

  findOne(id: string): User {
    const user = this.users.find((u) => u.id === id);
    if (!user) {
      // 抛出的 HttpException 会被转成对应状态码的 JSON
      throw new NotFoundException(`用户 ${id} 不存在`);
    }
    return user;
  }

  create(dto: CreateUserDto): User {
    const user = { id: Date.now().toString(), ...dto };
    this.users.push(user);
    return user;
  }
}
依赖注入:为什么不用 new?
上面的 Controller 里 constructor(private readonly usersService: UsersService),我们从来没 new UsersService(),是 Nest 的 IoC 容器自动创建并注入的。好处:
- 解耦:Controller 不关心 Service 怎么构造(需不需要传数据库连接?需不需要配置文件?)
- 单例:默认同一个 Provider 在整个应用是单例,不用自己维护
- 可测试:单元测试时可以轻松 mock 掉 Service
// 单元测试:直接 mock,不用起数据库
const module = await Test.createTestingModule({
  controllers: [UsersController],
  providers: [
    {
      provide: UsersService,
      useValue: { findAll: () => [{ id: '1', name: 'mock' }] },
    },
  ],
}).compile();
想注入别的东西(比如配置、数据库连接),用 @Inject() + token:
@Injectable()
export class UsersService {
  constructor(@Inject('DB') private readonly db: any) {}
}
Module:把三件套组装起来
Module 是组织单元,一个业务域一个 Module:
// users.module.ts
import { Module } from '@nestjs/common';
import { UsersController } from './users.controller';
import { UsersService } from './users.service';

@Module({
  controllers: [UsersController], // 这个模块的入口
  providers: [UsersService],      // 这个模块的零件
  exports: [UsersService],        // 允许别的模块用(不写就只能本模块用)
})
export class UsersModule {}
根模块把所有业务模块拼起来:
// app.module.ts
import { Module } from '@nestjs/common';
import { UsersModule } from './users/users.module';

@Module({
  imports: [UsersModule],
})
export class AppModule {}
A 模块想用 B 模块的 Service:B 在 exports 里导出,A 在 imports 里引入 B 的 Module。规则就这么简单。
DTO + ValidationPipe:参数校验一次配好
DTO(Data Transfer Object)定义接口收什么参数,配合 class-validator 自动校验:
// dto/create-user.dto.ts
import { IsEmail, IsNotEmpty, MinLength } from 'class-validator';

export class CreateUserDto {
  @IsNotEmpty({ message: '用户名不能为空' })
  name: string;

  @IsEmail({}, { message: '邮箱格式不正确' })
  email: string;

  @MinLength(6, { message: '密码至少 6 位' })
  password: string;
}
在 main.ts 全局启用,之后所有 @Body() 都会自动校验,不通过直接返回 400:
// main.ts
import { ValidationPipe } from '@nestjs/common';
import { NestFactory } from '@nestjs/core';
import { AppModule } from './app.module';

async function bootstrap() {
  const app = await NestFactory.create(AppModule);
  app.useGlobalPipes(
    new ValidationPipe({
      whitelist: true, // 自动剥掉 DTO 里没定义的字段
      transform: true, // 将 plain object 转成 DTO 实例
    }),
  );
  await app.listen(3000);
}
bootstrap();
whitelist: true 很实用:前端多传了 isAdmin: true 这种字段会被直接丢掉,进不到业务逻辑。
DTO 数字字段的显式转换
查询参数从 HTTP 到达应用时是字符串。transform: true 会让 ValidationPipe 把普通对象转成 DTO 实例;DTO 属性的数字转换应明确配置,避免把对象实例化误当成所有属性都会自动转型。
import { Type } from 'class-transformer';
import { IsInt, Min } from 'class-validator';

export class ListUsersQueryDto {
  @Type(() => Number)
  @IsInt()
  @Min(1)
  page = 1;
}
另一种做法是在 ValidationPipe 的 transformOptions 中启用 enableImplicitConversion。它会依据类型信息尝试转换多个字段,范围更广,也可能影响 class-validator 对原始输入的判断;接口字段需要可预测时,显式 @Type(() => Number) 更容易审查。若 Controller 参数直接声明为原始 number,NestJS 的 ValidationPipe 在 transform: true 下也支持转换 primitive route/query 参数;这与 DTO 类属性是不同场景。
数字转换后仍要使用 @IsInt()、@Min() 等验证输入范围。transform: true 负责转换流程,不等于业务校验已经完成。